Articles of clothing are just like houses, or anything that is constantly used and exposed to the elements for that matter. If you see any small damage and hold off mending it, the small damage will turn into a big irreparable ruinous before you know it. That is why, seamstress or not, we all should at least have some knowledge of basic clothing repair techniques to save ourselves a trip to a tailor especially if it isn’t really necessary.
Before the actual lesson, you must also remember that you should always keep a sufficient supply of mending materials. For starters, an all-purpose thread in white, black and gray will do and a selection of hand sewing needles.
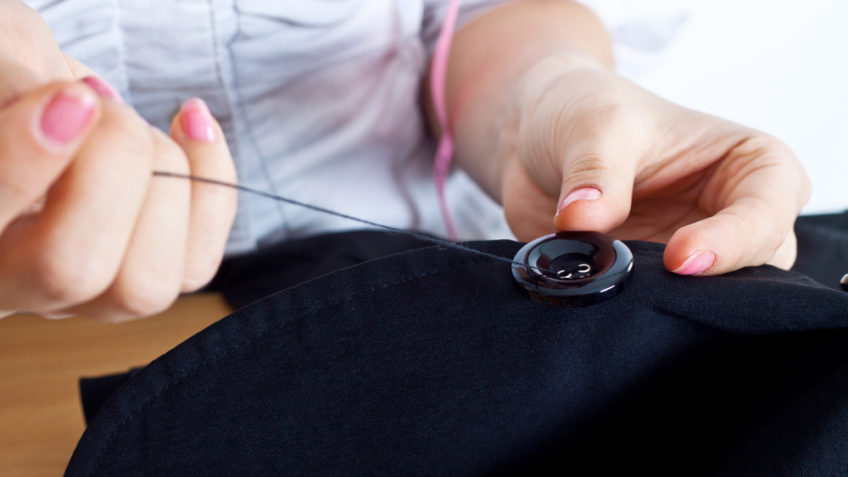
Replacing A Button
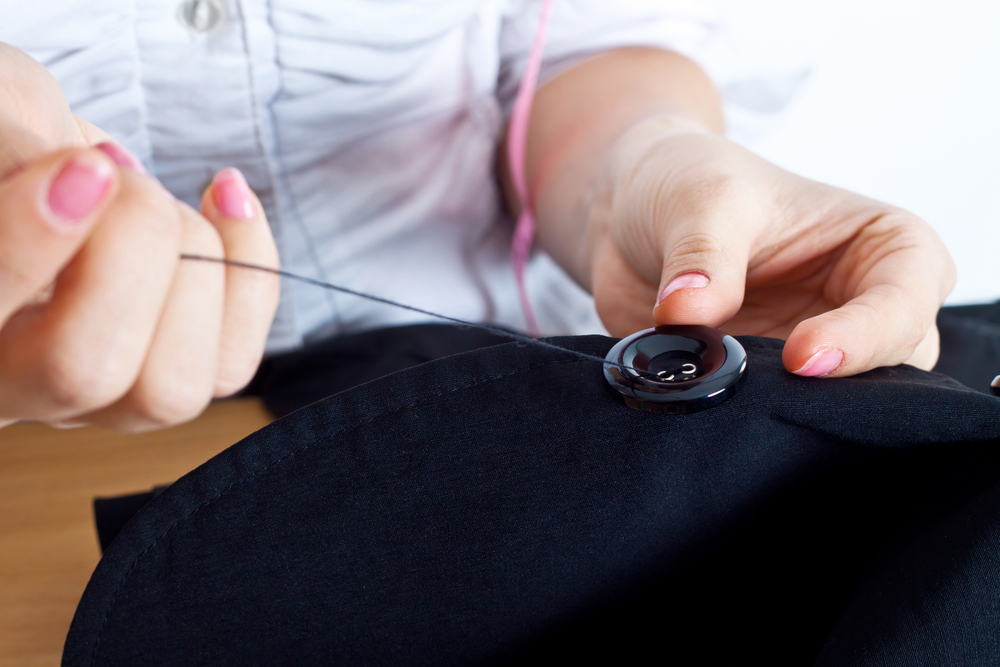
The most basic clothing repair techniques that you should learn is replacing a button since a missing button happens every so often. Hold the button in place and send the needle from the back up through one of the holes. Place a matchstick over the button; press the needle to the next hole stitching over the matchstick. Continue stitching over the matchstick until each pair of holes has been stitched several times. What’s important to keep in mind is that the button shouldn’t be too snug that it will be hard to put it into the buttonhole. Also, if you attach it too tightly, the threads will constantly be strained and will be prone to another breakage.
Mending A Split Seam
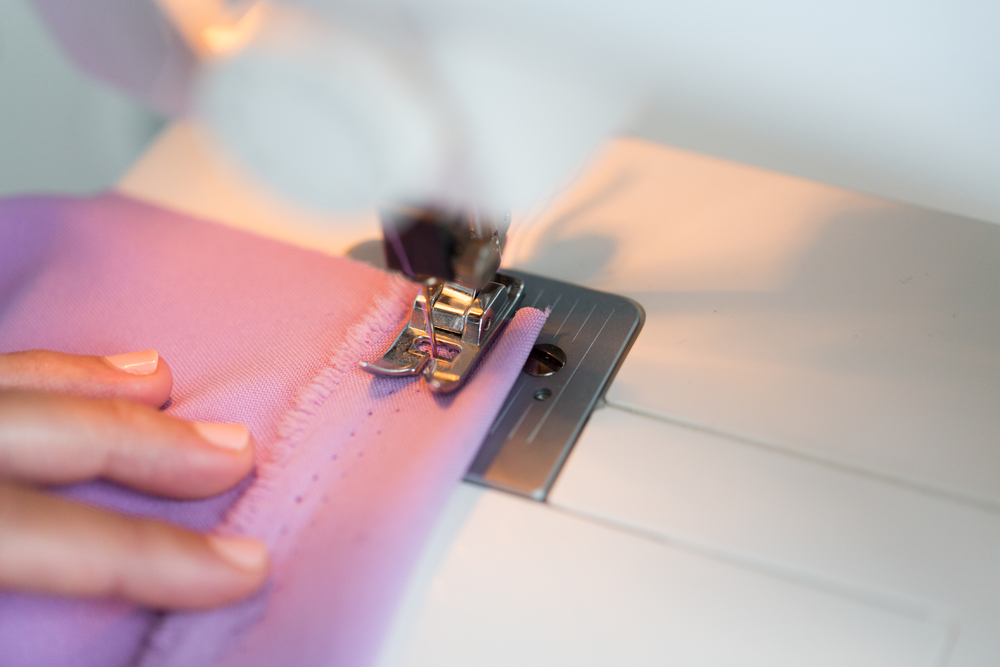
When mending a split seam, you just have to turn the piece of clothing you are mending inside out. This way, the edges of the seam that needs to be sewn back together is more accessible and the stitches will not be visible when the clothing is worn. Press both edges of each side together and stitch. If you are using a sewing machine then a straight stitch will do. Or, if you are hand stitching, do a back stitch instead.
Mending A Lining
The good thing about cloth linings is they are made to be invisible when worn so you don’t have to worry too much if your stitches are not as neat as those of an expert seamstress. However, sewing a lining can also be a bit challenging because of the texture of the material. It is very thin and smooth that it tends to always go out of place.
Just like mending a split seam, the cloth should be turned inside out to expose the inner side where the lining is. Since a lining’s material also has the tendency to fray, you can press the torn edges together and make a thin fold before sewing. Pin the folded edges to keep them in place. Start sewing not less than a quarter of an inch from the torn end. It is recommended to do a “blanket stitch” when hand sewing or an overlock/ overedge stitch if you’re using a machine, to further avoid the fabric from frays.


